Thanks to all my friends for contributing ideas!! Alot of these ideas have been around for a while-If you know who the ORIGINAL artist was please let me know so that I may give proper credit. I've given credit to those who've given me pictures/poems/or directions!
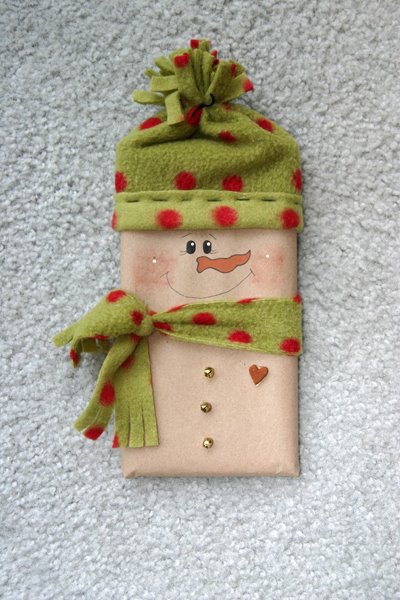
The only thing better than a snowman is a CHOCOLATE SNOWMAN! Isn't this ADORABLE? VERY easy to make! Thanks to Charlotte of
RAGGEDY HOLLOW for her permission to use this idea and her picture! Also THANK YOU to Patti for the picture of her version! In Patt's version she used white felt instead of paper.
SUPPLIES NEEDED:
Hershey's Bar (The ones in the pics are 1/2 pound bars)
Kraft or other heavy weight paper
Embellishments (Buttons etc...)
Colored markers/pens
Scrap of fleece (Twice as wide as the bar plus 1")
All you do is wrap the bar like you would a gift, making sure the seam is on the back side of the bar. You can use paint pens, crayons, paint etc to paint on the face. Use buttons, bells or pom poms for his "coal" buttons. Take the scrap of fleece and fold in half long wise and sew up the long seam. You can flip up the bottom cuff and sew a running stitch to make it more fashionable. Use a dab of glue to attach it to the bar. Tie a piece of thread about 1-2" from the top and clip to make the fringe. Tie a scrap around his neck for the scarf.
You can write this poem by Kim of SIMPLE NEEDS on a tag and attach it or write it on the back of the snowman!
S is for snowman
short and fat
sitting on the counter
wearing a hat
I took off the wrapper
and what did i see??
MMmm....chocolate!
too bad for the snowman,
but goodie for me!!!
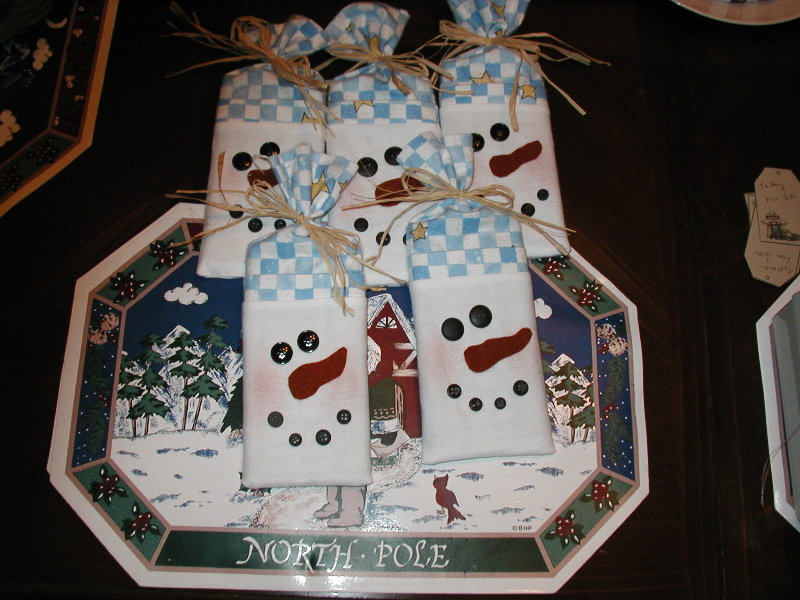
Another easy project with a new twist on it!
Snowman soup is basically hot cocoa, marshmallows, Hershey's kisses and a peppermint stick. You can package them up in a cello bag with a hang tag or a topper, put them inside of a coffee mug, or try this project out!
SUPPLIES:
Empty tin can (I use fruit or soup cans)
Can Opener (One that leaves no sharp edge! Walmart sells one by GOOD COOK for about $8)
Paper
Double sided tape
Elmer's glue (or other NON TOXIC glue)
Template for label
Open your can and empty contents. You can either open it from the top or bottom-whichever is easier! Peel off label and WASH THOUROUGHLY! Print out your label and attach to can with double sided tape or glue. Fill can with "soup" ingredients and glue lid back on. (You can also use double sided CARPET tape around the edge of the lid to seal it back on instead of glue!
Attach tag with Snowman soup poem.
SOME TIPS AND HINTS:
I buy my labels from Krista at COUNTRY CHARM GRAPHICS Krista has them all made up for you so the only thing you need to do is print it out!
You can also make your own template in whatever print program you use. Fill it in with whatever colors/sayings/graphics that you want and print it out.
SNOWMAN SOUP POEM:
Was told you've been real good this year
Always glad to hear it
With freezing weather drawing near
You'll need to warm the spirit
So here's a little Snowman Soup
Complete with stirring stick
Just add hot water, sip it slow
It's sure to do the trick!"
MANY thanks to ANGIE of ..... for her pictures and directions!
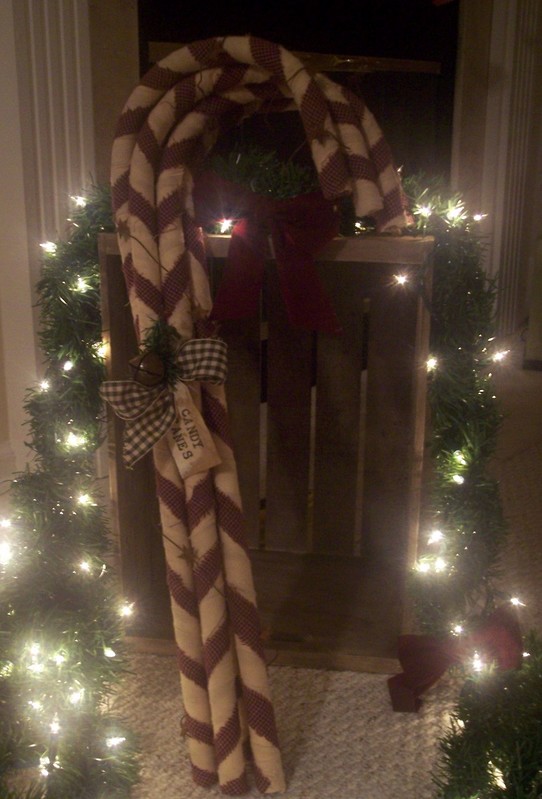
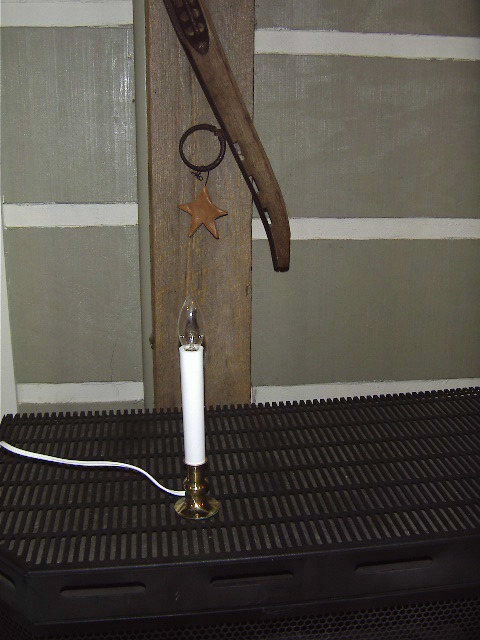
You will need the following materials to make one Candy Cane:
Plastic PVC Yard Candy Cane (found cheapest at Walmart or Dollar Stores)
1/4 yard Tea Stained Muslin
Red or Green Homespun
Hot Glue
*********
If your plastic candy canes red/green stripes are taped on (and not painted on) peel the tape off the white plastic candy cane. This will keep the red from showing through your muslin. If the stripes are painted or printed on, obviously disregard this step.
Tear your tea stained muslin into 1.5" wide strips. You should tear enough to make a 70" long strip. ( I used two 35" strips) Starting at the top of the candy cane, add a drop or two of glue on the tip of the candy cane and wrap the muslin around the tip and work your way down to the bottom, being sure to overlap your layers so that the white plastic doesnt show through.
Tear your homespun into 1" wide strips. You should tear enough to make a 35" to 40" long strip) Again, starting at the top, add a drop or two of hot glue and begin wrapping the homespun around, this time wrapping it further apart to create the stripe. Secure your homespun to the bottom of the candy cane with hot glue.
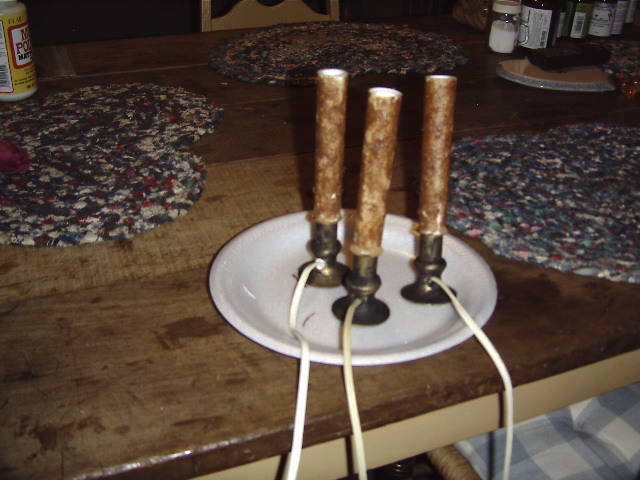
You can group several of these together and decorate however you like! Here are some additional embellishment ideas:
Rusty Wire
Rusty Bells
Glass Glitter
Wired Ribbon
Greenery
Prim Tags
*********
A great idea using a find from The Dollar Tree!
My friend Kathy of GK PRIMS found some big bells at the Dollar Tree but they were a bright brass color. So she went to Walmart and found some spray paint (Red Oxide Primer) and simply spray painted the bells! Aren't they wonderful? She has them displayed in an old wooden bowl with some evergreen sprigs but also offers up a few other ideas for decorating with them such as wiring them onto a wreath, adding some homespun hangers and hanging them on your tree or tied onto garland. I'm sure you can think of plenty of ideas for using these great jingle bells!