


I enjoy making stencilled signs-you can see them in magazines and they sell for some serious money! (Serious as in OUCH!) I sell these signs on my sight for much less. I can do them in any color combination you choose. If you'd like to learn how to do them yourself...it's a very easy project!
I buy my stencils from Tori of STENCIL ME IN Her stencils are top quality, inexpensive and she's lightening fast! She also does custom orders!
My signs are all 6" high and the usual length is 24"-48" altho I have done shorter and longer ones.
The first step is to cut your wood. I buy sheets of 1/2" plywood and cut them to size.
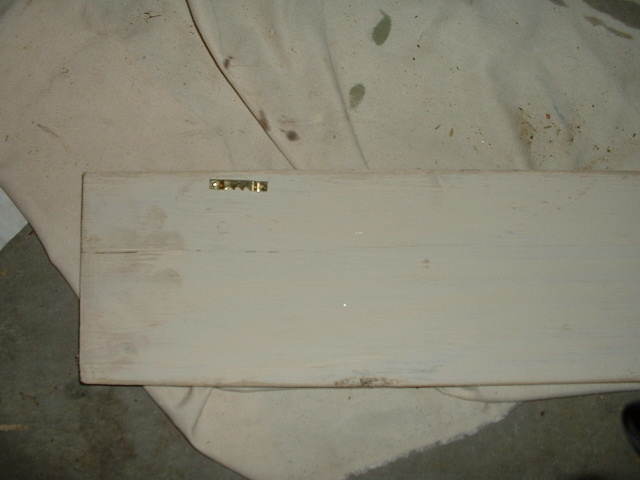
Next, I paint my basecoat. I use regular acrylic paint...You can use the small bottles but I buy mine by the gallon at Lowe's. (Regular wall paint-make sure you ask for FLAT!)If I'm doing one at a time I just use a sponge brush but when I am gearing up for shows I use a roller! I usually also paint the backside.

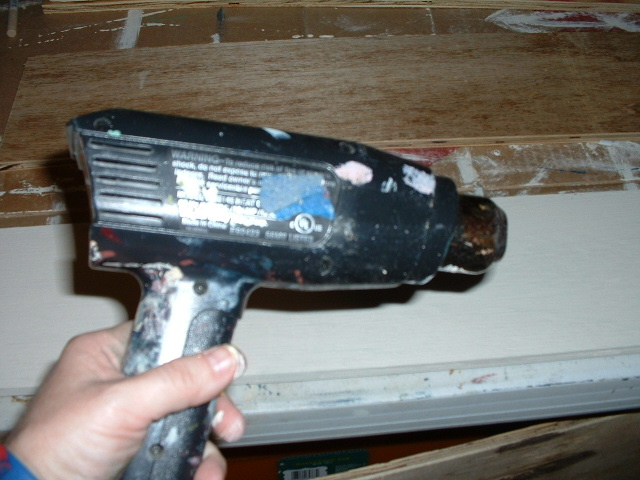
If you are impatient like me and can't wait for paint to dry-use a heat gun or a blow dryer. Be careful with the heat gun because it will make your paint bubble up if you hold it too long in one spot or too close.
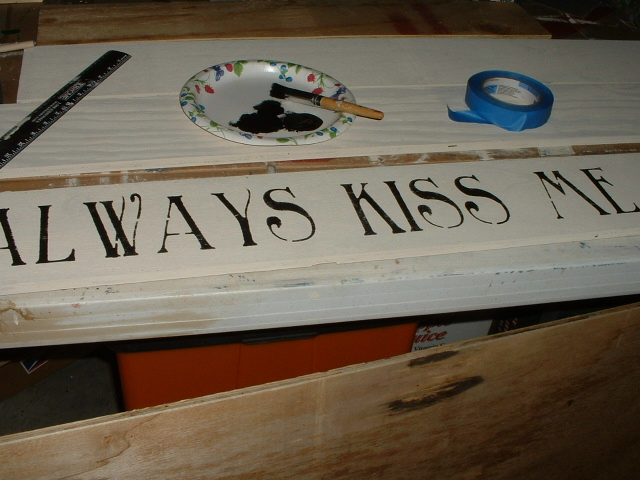
Then I tape my stencil to the board using blue painters tape. To make sure it is even on the board I pick the largest letter on the stencil and make sure it is the same distance from the top as from the bottom. (This works great for stencils that are in all caps.) For stencils that have lower case letters I use the same method EXCEPT if there are letters such as "y" or "g". In that case, I try to make sure it is even from the top using the tallest letter and the same on the bottom using the bottom of the "y" or "g".

Once the stencil is taped down I use a stencil brush to dab the paint on. (Just a note on the brushes-I use the stencil brushes that have the black bristles. These ones are not stiff like others and it makes it so much easier!) Dip your brush in the paint-dab a bit off on a napkin-and "pounce" the paint on. When you are done SLOWLY lift the stencil off. I use my heat gun to dry the lettering. Some folks will go back with a paint brush and paint in the "bridges" of the stencils...I don't, but that is just my preference...I WANT it to look stenciling!
Now this next step is just a trademark of how I do my signs. A customer's husband suggested that I put a border around the sign and that is the way I have made them ever since. Thanks Wolfie's hubby The Raggedy Princess
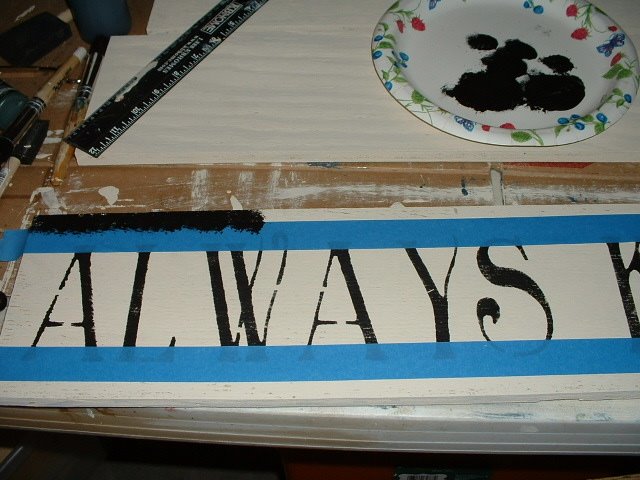
I tape off about 1/2" along the edge of the sign-one side at a time and stencil the letter color around the edge like a frame.
At this point I let it dry overnight-or at least for a few hours. Paint that is not set will gum up your sand paper and make a mess!
Once it's dry, I use a hand sander and 60 grit sandpaper to sand the paint off the edges and to round the corners. I also sand in a side to side motion over the letters to give them a worn look.
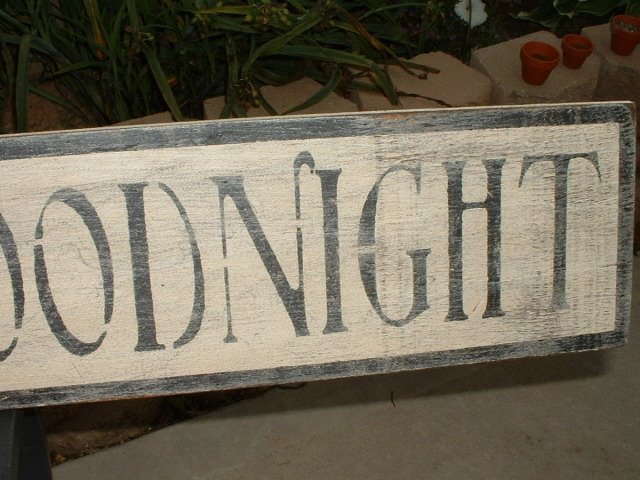

Wipe the board down to get all the dust off and then apply your stain. I use MINWAX PROVINCIAL. I use a foam brush or a paint brush to apply the stain-don't try to be neat about it-just get it on there making sure to pay special attention to the corners and edges. I let mine sit for about 10 minutes and then I use a shop towel or old tshirt to wipe the stain off. If it's not as dark as you'd like it, apply the stain again and let it sit longer.

I let the sign sit overnight to give the stain plenty of time to dry. If it's humid out it will take longer for it to dry!
Add your picture hangers-measure the same distance in on both sides and hammer the picture hangers in. I always use two.
All done...Now you just have to find a clear wall space to hang your sign!
